

Keeping Bathroom Infrared Heaters Safe (and Dry)
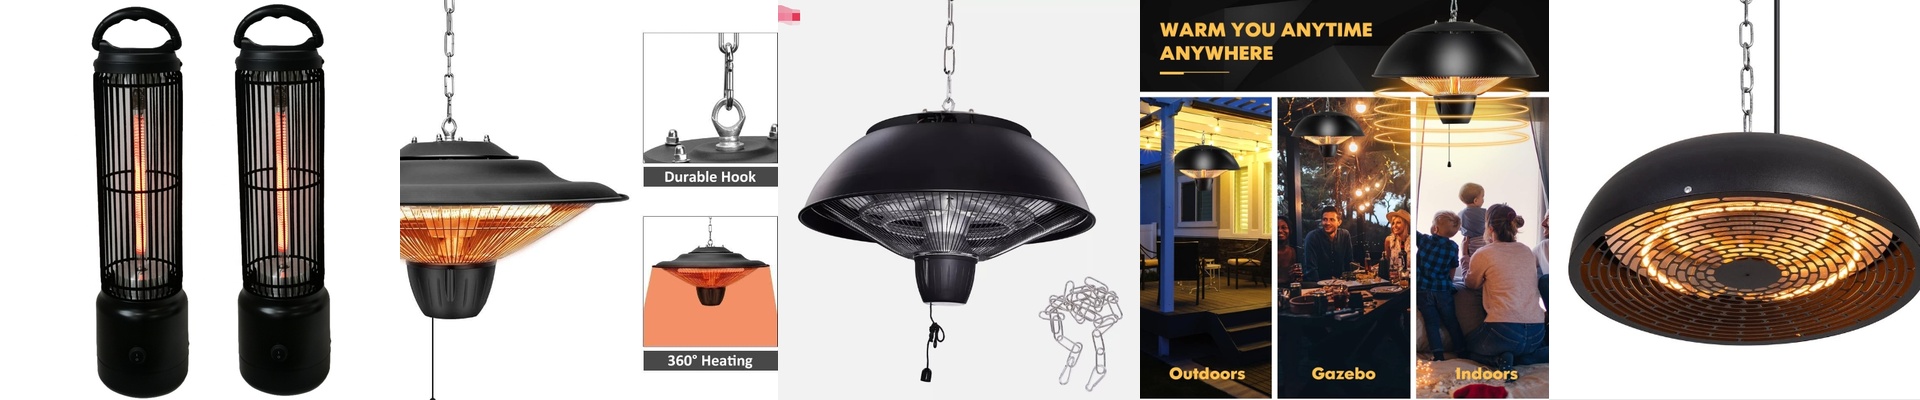
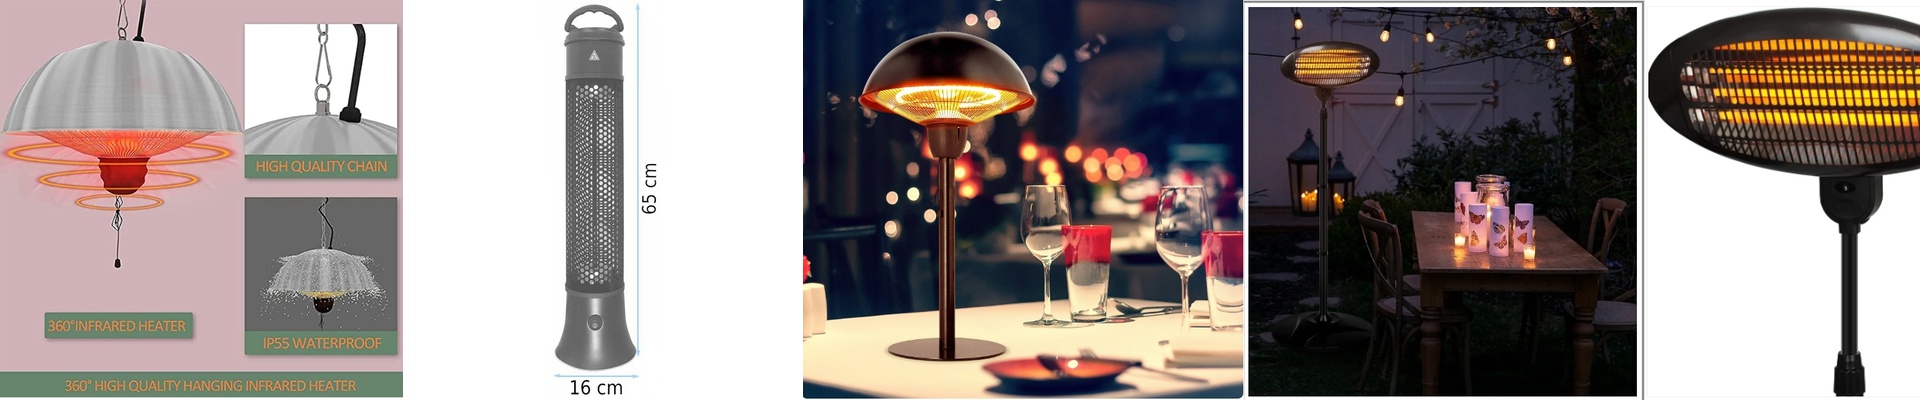
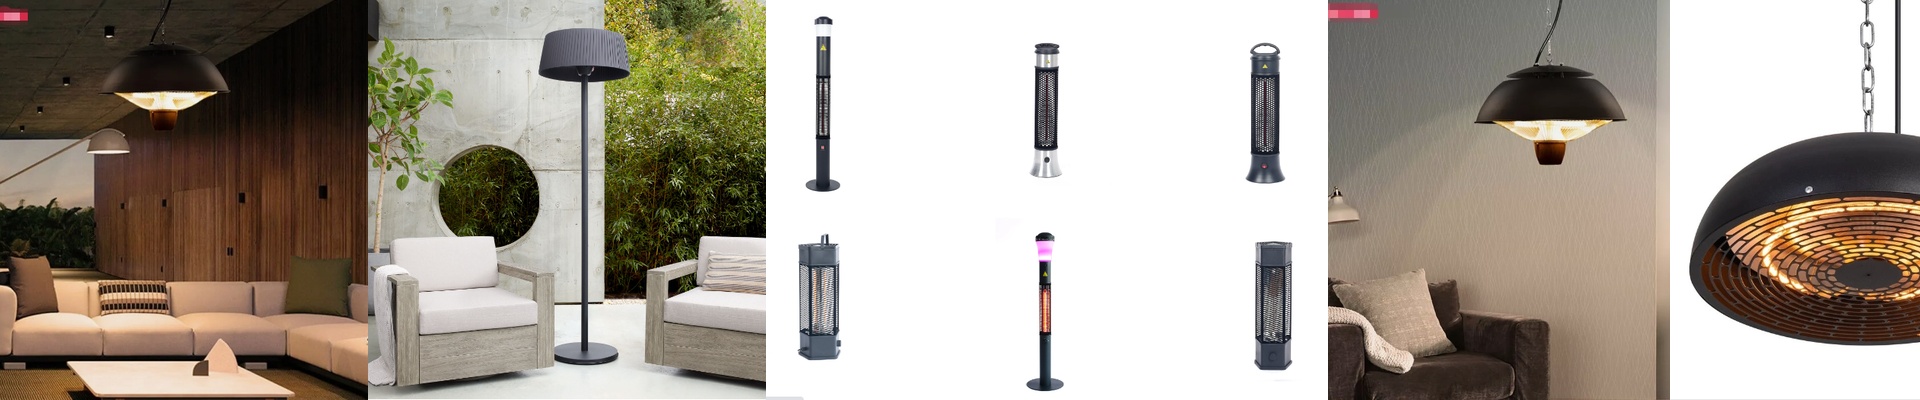
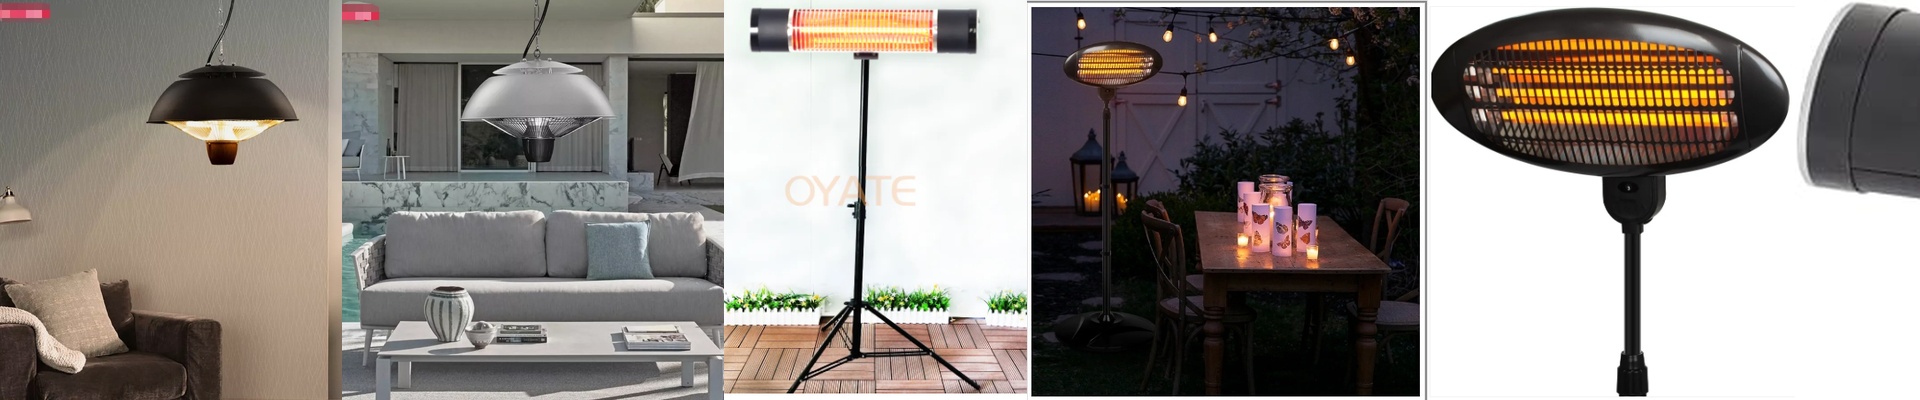
Putting an infrared lamp in a bathroom is a bit of a tightrope walk. You’ve got high voltage on one side and constant steam and splashes on the other. If your insulation isn’t spot on, you’re looking at leakage currents or, worse, a short circuit. To get that IP65 rating, the real battle is won or lost at the seal between the lamp housing and the electrical terminals.
The battle against moisture
Here’s the thing: water vapor is sneaky. It doesn’t just pour in; it creeps through standard housings using capillary action. To stop that, we lean on silicone gaskets and reinforced seals right where the wires enter. But there’s a catch. That quartz tube gets incredibly hot. As it heats up, the materials expand. If your seal is too stiff, it’ll just crack under the pressure. That’s why we use flexible, high-temp elastomers. They stretch and breathe with the heat cycles without letting a single drop of moisture inside.
Keeping the sparks where they belong
We can’t have the heating element touching the chassis. To keep things isolated, we use ceramic insulators. They’re great because they don’t conduct electricity and they won’t warp when things get glowing hot. And please, make sure the chassis is grounded. We always include a dedicated earth wire. It’s your safety net—if there is a leak, the GFCI trips instantly and shuts everything down before it becomes a problem.
The trade-offs you should know about
Getting a perfect IP65 seal comes with a price: heat. By locking the unit down to keep water out, you’re also trapping heat inside the housing. If you run these lamps at full blast for hours, the internal temperature climbs. Keep an eye on your airflow. If it gets too hot in there, your internal wiring can actually become brittle over time. One last tip: watch your cables. Standard PVC is a no-go here—it’ll melt and ruin your insulation. Stick with silicone or Teflon-jacketed wiring. It’s a small detail, but it’s what keeps the whole system safe.